
Chris Williams' Journal

Home Page: Chris W
Gosford, NSW, Australia
| Total Posts: 225 | Latest Post: 2026-01-22 |
| Table of Contents | RSS Feed |
A recent thread about a stuck bonnet (Hood?, the bit over the motor) prompted me to start this.
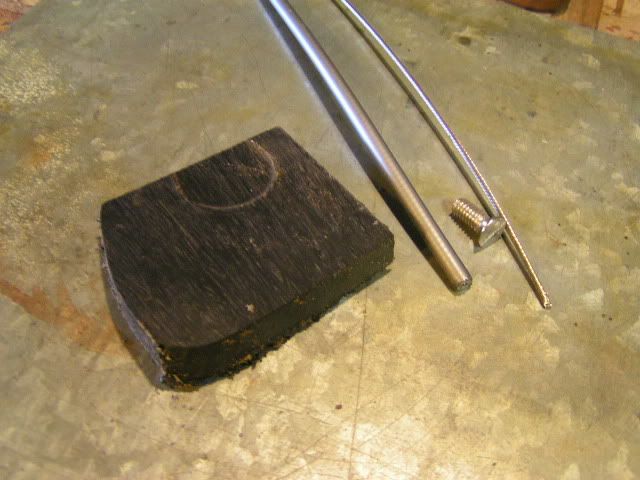
About 500mm of SS cable, Teflon lined sheath 400mm, a SS Countersunk head screw and a chunk of 10mm plastic. Cable was an off-cut from my recent throttle cable upgrade. Just seemed a shame to throw it away.
Starting Bits.
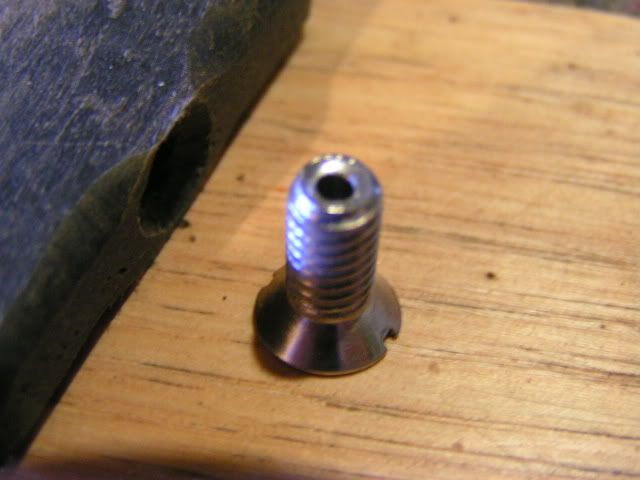
Careful Drilling.
2mm drill through the middle of the screw. Didn't need to be very accurate, as long as it didn't come out the side.
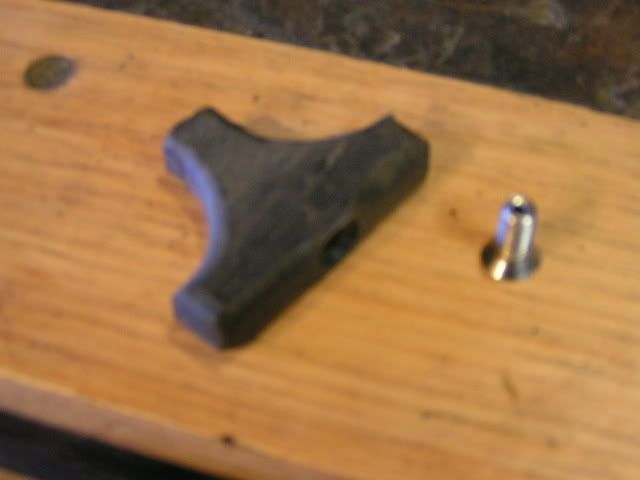
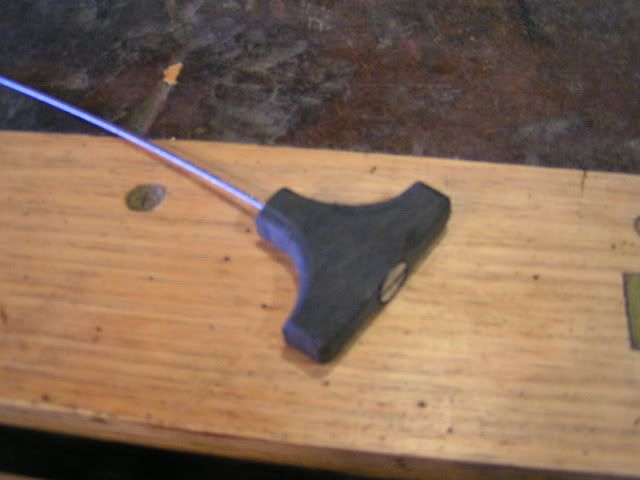
Fuzzy view of the handle.
Tee handle cut to shape, sanded and corners taken off with a 1/8 rounding over bit in router. Shocking pic.
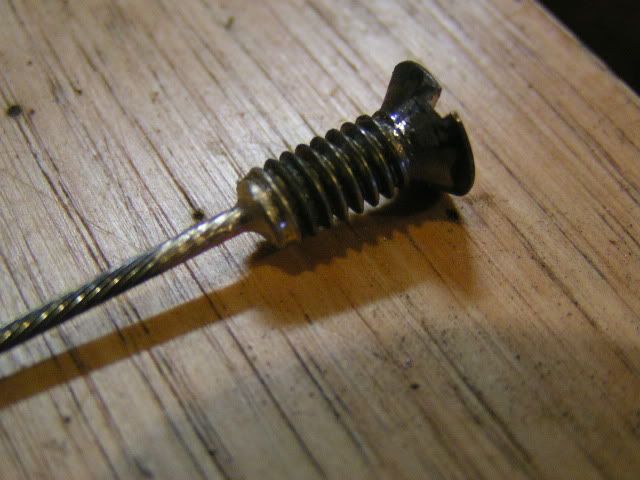
Close-up of Cable End.
Cable end brazed to screw. Had to recut the slot after it filled with braze.
Assembled Cable.
The Tee handle was counterbored and countersunk so the screw would screw into the end. A small piece of 4mm fibreglass tube was pressed into the other side just to stop the bare cable from cutting into the plastic. This is what you will be able to grasp under the left guard, near the headlight bucket.
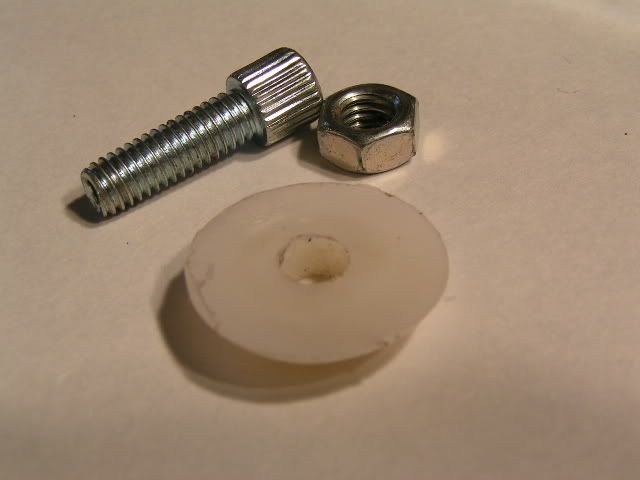
After a visit to the local bike shop.
Two sheath caps and two cable support bits. (Not sure what they are called) Cost = $2. Plus a couple of SS washers and a teflon button that should make a nice washer. Could use all sorts of things here, this just appeared to be a good size and thickness plus it's got a nice chamfer on one side.

Teflon button drilled.
This worked out quite well. Drilling from the top initially allowed me to pop out the nail without damage. Then drilled to suit the threaded part in the photo.
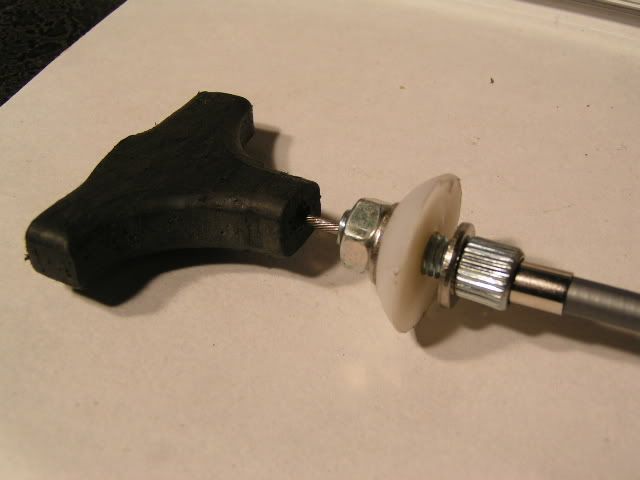
Handle end assembly.
This is how the parts assemble. The gap between the Teflon piece and the washer is where the hole in the inner guard goes.
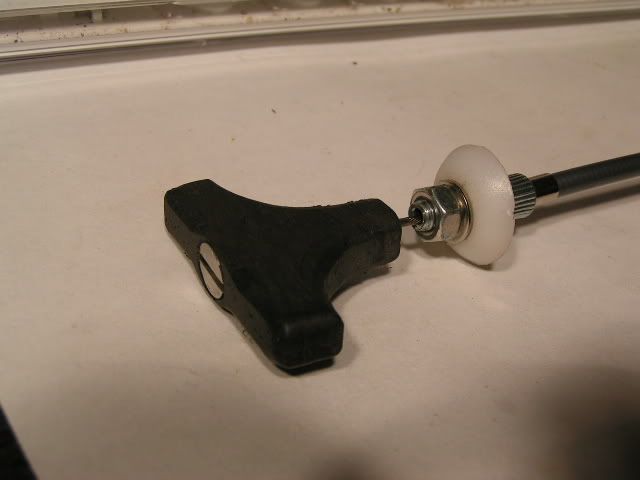
Tee handle end.
A locking washer will go under the nut as well. This is what is exposed in the wheel well.
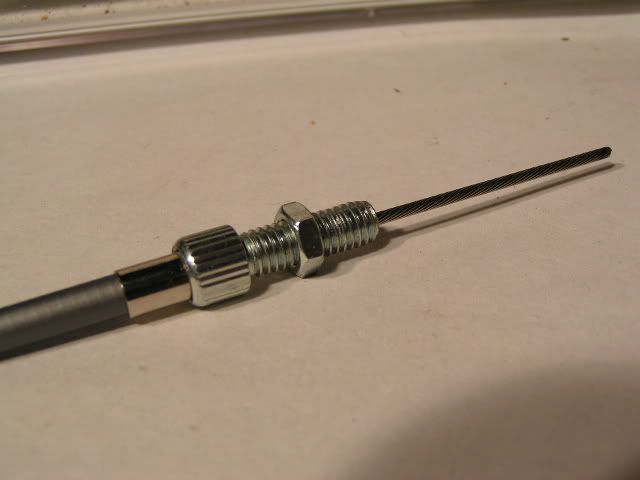
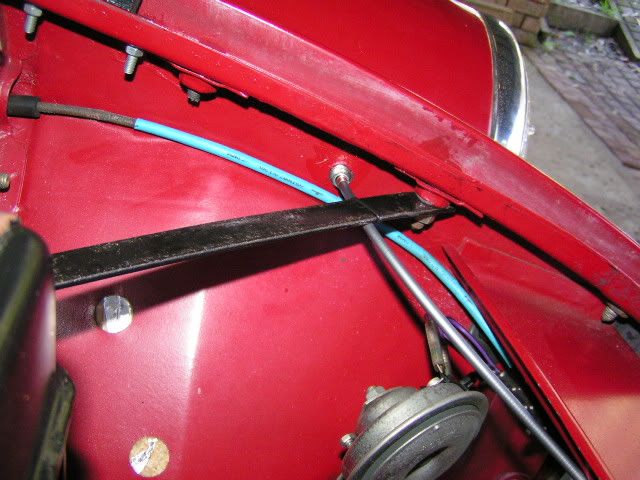
The business end.
The end at the catch with a similar arrangement to retain the other end of the sheath. The outer had to have about 40mm extra cut off to allow the cable to protrude further during installation.
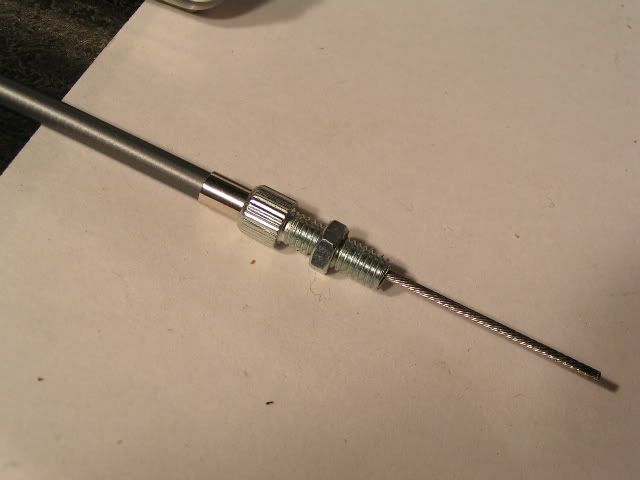
Another view.
Shows the cap and the retaining screw at the catch end. Flat washers and a locking washer will go here as well.
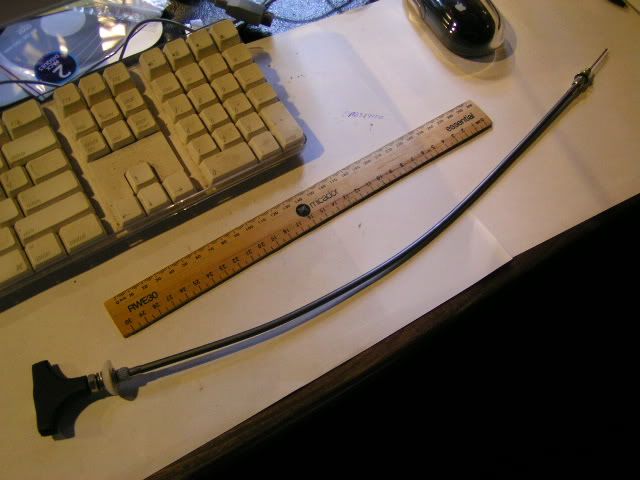
The whole thing.
All the bits ready to install. The cable end will attach in the same hole as the existing cable and the cable outer located in it's own hole just next to the existing.
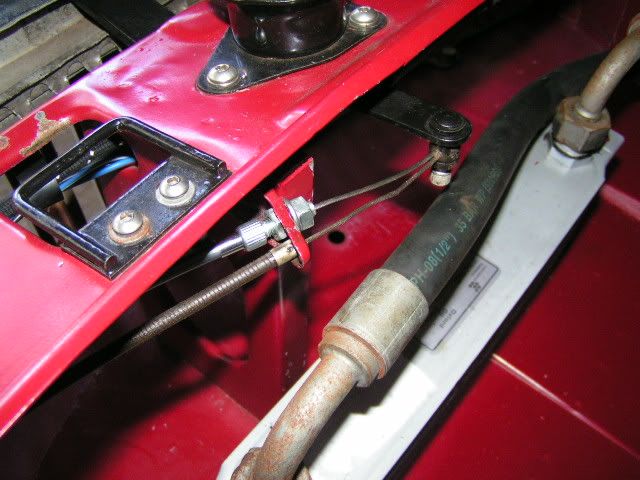
Cable attachment at catch.
Additional 1/4" hole for end next to existing cable. Inner cable goes to same point as original - hole needed to be enlarged.
Cable end at fender.
1/4" hole in inner fender. The cable end with the teflon washer is attached .
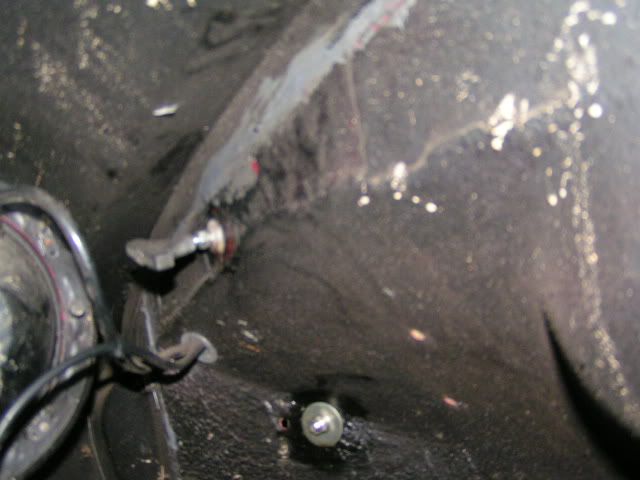
View under wheel well.
Penatrol around the hole and a little seam sealer behind the teflon washer to seal. Not a good picture.
And that's it!
It works quite well, a little awkward to get to but that's probably a good thing.
About 500mm of SS cable, Teflon lined sheath 400mm, a SS Countersunk head screw and a chunk of 10mm plastic. Cable was an off-cut from my recent throttle cable upgrade. Just seemed a shame to throw it away.
Starting Bits.
Careful Drilling.
2mm drill through the middle of the screw. Didn't need to be very accurate, as long as it didn't come out the side.
Fuzzy view of the handle.
Tee handle cut to shape, sanded and corners taken off with a 1/8 rounding over bit in router. Shocking pic.
Close-up of Cable End.
Cable end brazed to screw. Had to recut the slot after it filled with braze.
Assembled Cable.
The Tee handle was counterbored and countersunk so the screw would screw into the end. A small piece of 4mm fibreglass tube was pressed into the other side just to stop the bare cable from cutting into the plastic. This is what you will be able to grasp under the left guard, near the headlight bucket.
After a visit to the local bike shop.
Two sheath caps and two cable support bits. (Not sure what they are called) Cost = $2. Plus a couple of SS washers and a teflon button that should make a nice washer. Could use all sorts of things here, this just appeared to be a good size and thickness plus it's got a nice chamfer on one side.
Teflon button drilled.
This worked out quite well. Drilling from the top initially allowed me to pop out the nail without damage. Then drilled to suit the threaded part in the photo.
Handle end assembly.
This is how the parts assemble. The gap between the Teflon piece and the washer is where the hole in the inner guard goes.
Tee handle end.
A locking washer will go under the nut as well. This is what is exposed in the wheel well.
The business end.
The end at the catch with a similar arrangement to retain the other end of the sheath. The outer had to have about 40mm extra cut off to allow the cable to protrude further during installation.
Another view.
Shows the cap and the retaining screw at the catch end. Flat washers and a locking washer will go here as well.
The whole thing.
All the bits ready to install. The cable end will attach in the same hole as the existing cable and the cable outer located in it's own hole just next to the existing.
Cable attachment at catch.
Additional 1/4" hole for end next to existing cable. Inner cable goes to same point as original - hole needed to be enlarged.
Cable end at fender.
1/4" hole in inner fender. The cable end with the teflon washer is attached .
View under wheel well.
Penatrol around the hole and a little seam sealer behind the teflon washer to seal. Not a good picture.
And that's it!
It works quite well, a little awkward to get to but that's probably a good thing.

Want to leave a comment or ask the owner a question?
Sign in or register a new account — it's free